07 Nov Crumby old motorcycle engine finds fountain of youth.
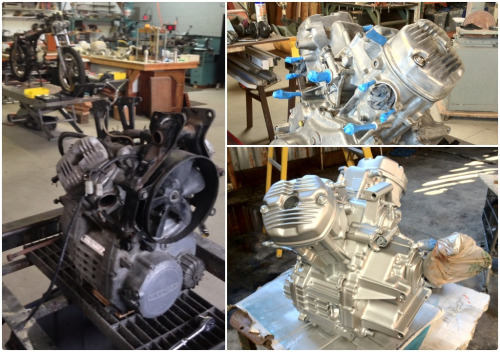
Crumby old motorcycle engine finds fountain of youth.

Crumby old motorcycle engine finds fountain of youth.
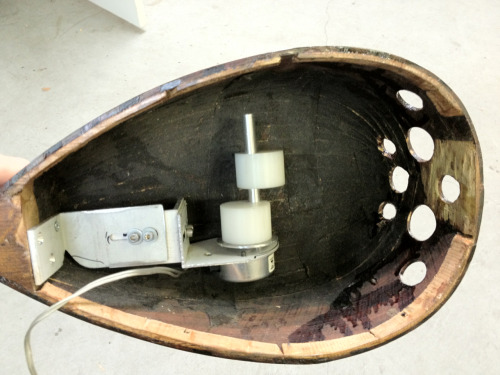
Cam mechanism to animate antennae. This element is really simple. The difficulty is in mounting it inside a dome shape. It’s a definite down side to my preference for curved, organic shapes.
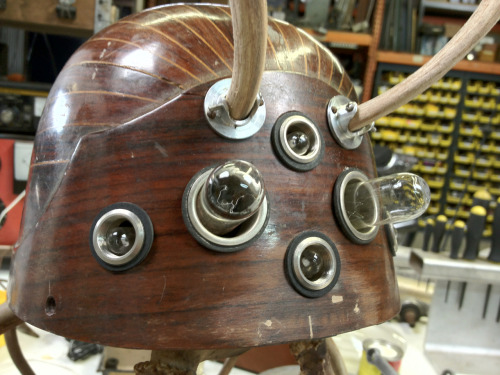
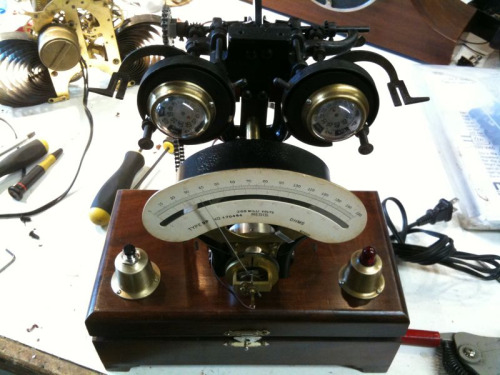
Working on an insect piece with multiple incandescent eyes. The plan is to run the bulbs at the lowest possible voltage so that you can just see the filament glowing.
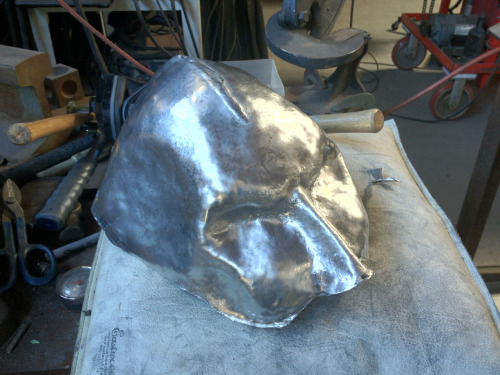
Working on a mask from sheet metal. Part of the motivation in my motorcycle project was to pick up some new techniques that could be applied to art. I’m not thrilled with this piece so far, but I can see the possibilities opening up.
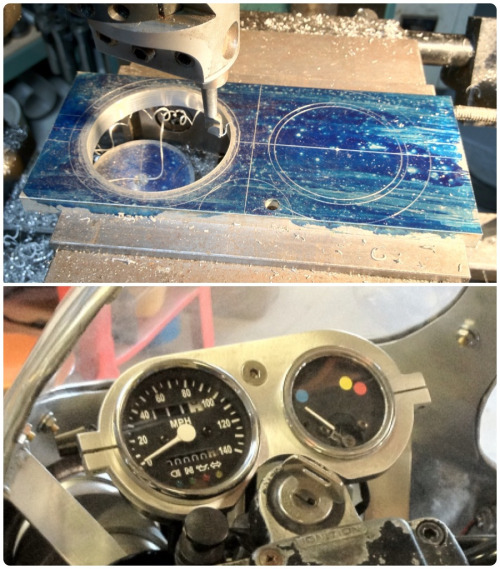
Mounting solution for gauges. The temp gauge is the original stock one mounted in a random vintage housing I had laying around. Pure luck that it fit so well. I just had to black out the face and apply colored stickers to indicate the temp range.

Just about finished with the motorcycle fairing…
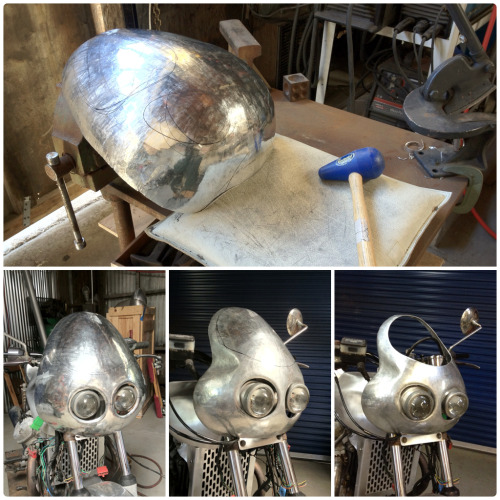
Early stages of motorcycle fairing.
It would be a stretch to say I’m getting “good” at this, but I’m at least beginning to see how it works. To me, a new skill is only enjoyable once I’ve reached the point where I can improvise with it. Up until now I’ve felt totally at the mercy of what the metal was willing to do. Now at least I feel like I’m gaining some control.
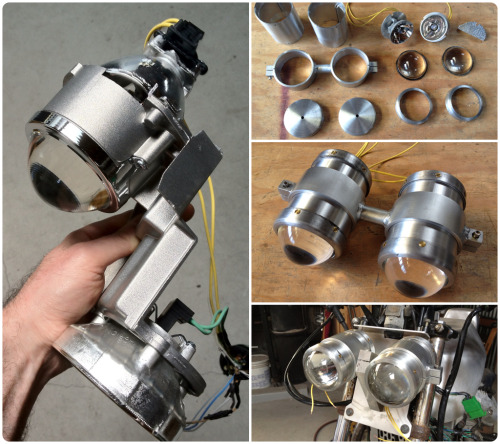
So, the bike project needed headlights. I came across a set of projector headlights from a car. Once free from their plastic tombs I set about building mounts to fit them to the bike. The result looks pretty good, and I think they have enough adjustability to function well. Next up, front fairing…
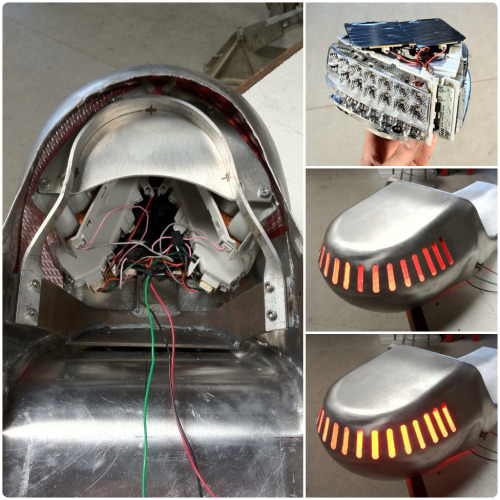
I definitely underestimated the difficulty in my tail light concept. I had planned to simply back the slots with strip LEDs. Turns out these are nowhere near bright enough. The solution was a hacked pair of LED car tail lights. Same light source, but each cell is encased in a tiny reflector cone which greatly increases the visibility (and they were pre-wired for two brightness levels). Needless to say the original plastic housings were not eager to play nice with my aluminum tail shape. Bandsaw, belt sander, zip ties, and some custom brackets and I can finally call it a success.
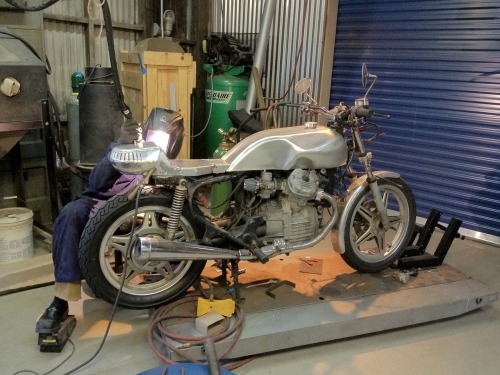
I had to make a funny overhead support arm to help hold my TIG torch for this project. I’m really glad I did too, taking the cord weight off the torch makes a huge difference in getting consistent welds.
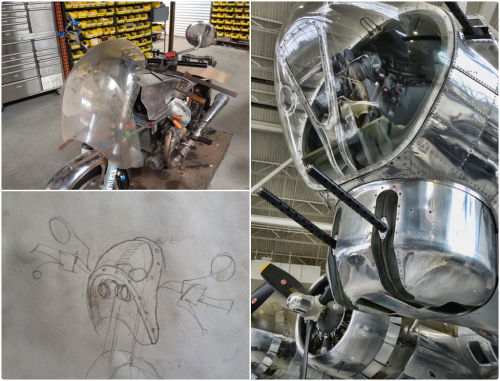
Thinking of going with an old airplane theme for my bike project. Feeling pretty good about this plan to join two upside down windscreens to make a fairing that looks somewhat like a bomber nose. Bear with me if I change direction, it’s still early.
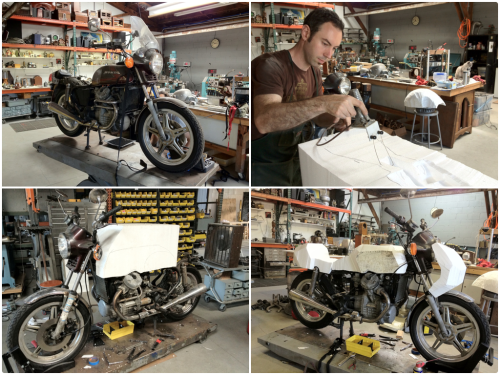
I’m excited to have finally begun my motorcycle project! I was given a Honda CX500 in poor condition as a starting point. My plan is to rebuild the tank and body work from aluminum sheet. This is a process I have always wanted to learn but have little experience with. To get over the vertigo of not knowing where to begin, I’m roughing out design possibilities with styrofoam. No telling how many attempts it will take before I eventually get a form worth translating into a metal pattern. Bear with me, this one may take a while.
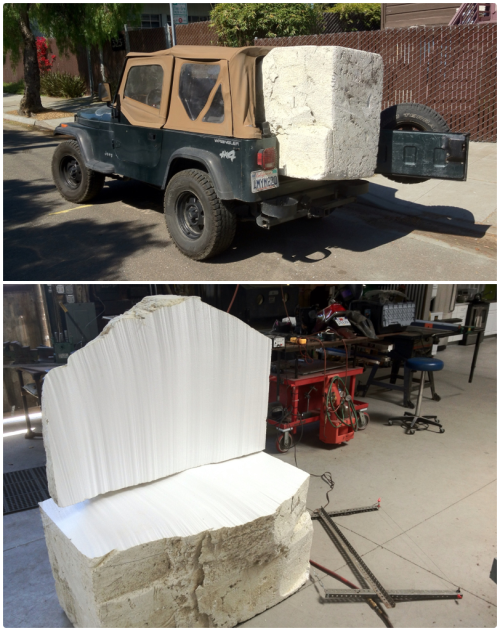
Yesterday I made the mistake of saying “I kinda want to build some models of shapes to make patterns from. Maybe out of styrofoam, but where am I gonna find a huge chunk?” Then Jeremy says “Oh, theres one on the curb a block from here”.
So now I am the proud owner of a huge block of styrofoam. I had to whip up a 13 volt hot wire cutter to process it into manageable pieces. Next up is a smaller, more precise cutter to do detail work.
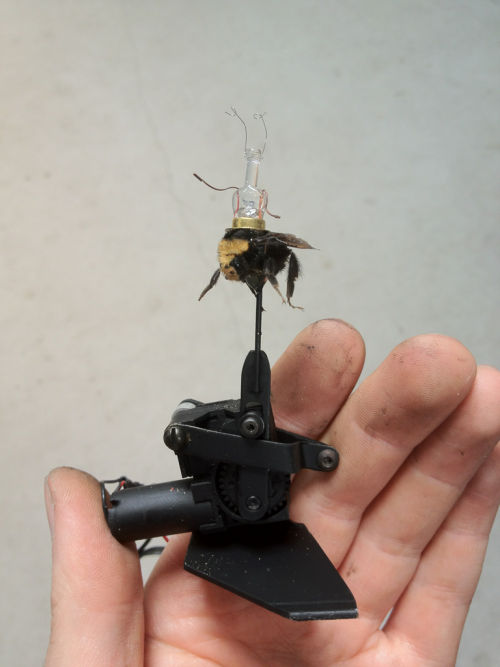
I’m working on a series of pieces that will be as tiny as I can manage. Equal parts fun and maddening.

Some pretty good finds this week. Check out the crazy adjustable brass candle sticks! I’ve also been looking for a little sheet metal machine for a while now. Not the kind of thing one expects to find at a scrap yard.
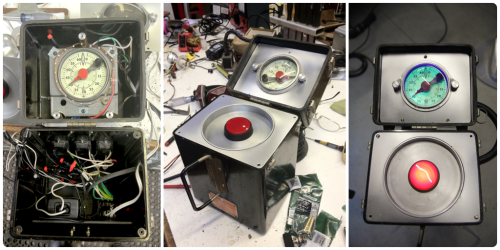
This is my latest attempt to solve the puzzle of user interface. You’re looking at a photography dark room timer routed to a high amp relay. The user pushes the bright red button to activate up to six sculptures plugged in to the back of the box for a period of one to sixty seconds. This provides people with something they can interact with without exposing the art to mishandling. UV LEDs make use of the timers glow in the dark face.
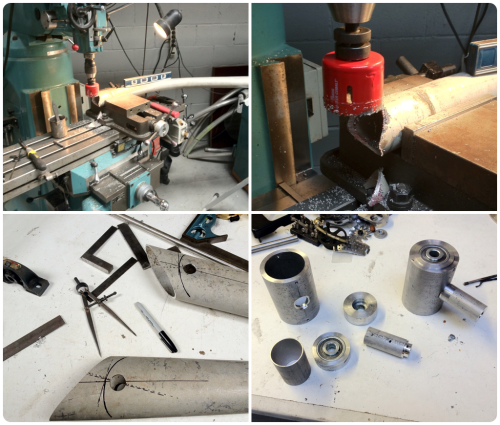
Spent some time recently working out the hips and ankles of a new large Robot Sculpture. Its important that these parts be sturdy and aligned well with one another. This can be pretty tricky when the elements are curved such as these.
This Jacob’s Ladder will the head for a new large scale robot sculpture I’m working on.
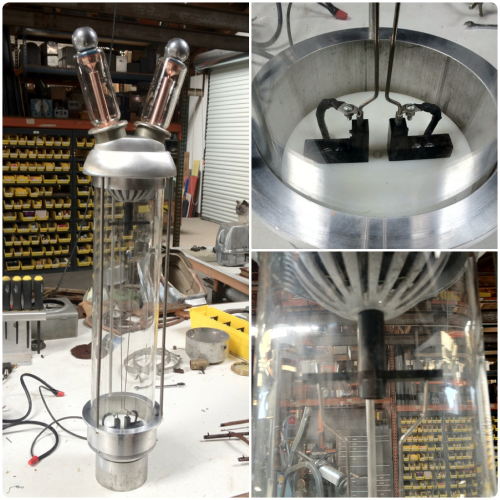
This will be the head (I hope) for a new large piece I’m working on. It’s a Jacobs Ladder, meaning that a high voltage electrical arc will repeatedly climb the two long electrodes inside the glass cylinder.
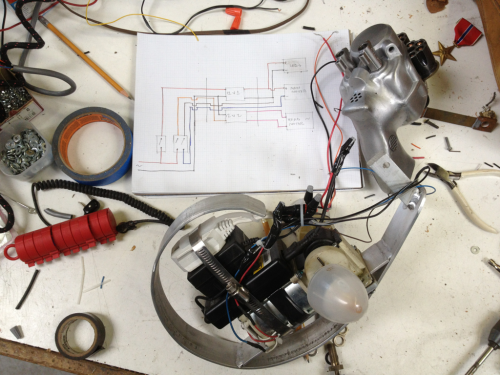
Sometimes the wiring can be the trickiest part. I don’t usually have to draw it out before hand, but this one required it.
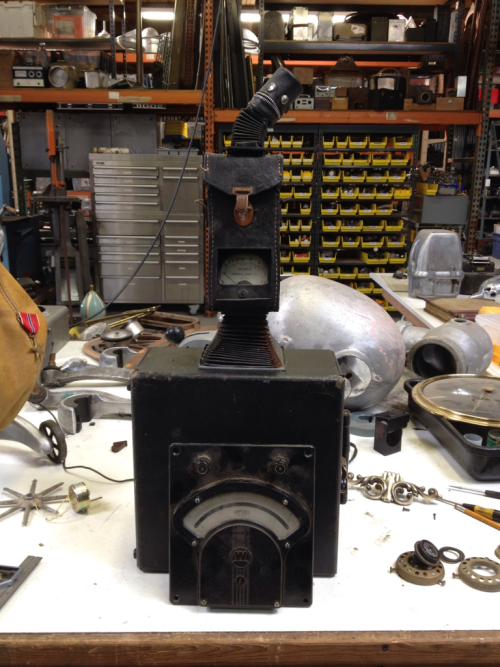
Working on a possible new direction. Infinity stack of angry faces?
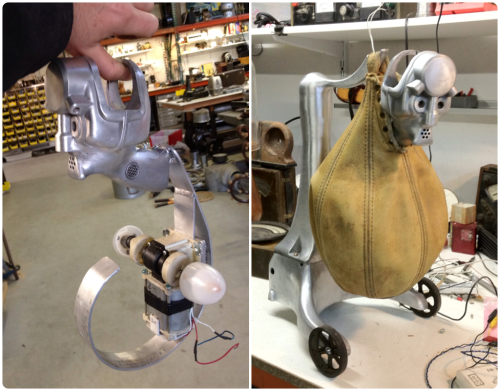
I’m pretty excited about this little guy so far. The machine shown on the left of the image makes him appear to struggle feebly within his punching bag confinement.
This video is the first mechanical test of a little climbing monster piece I’m working on.
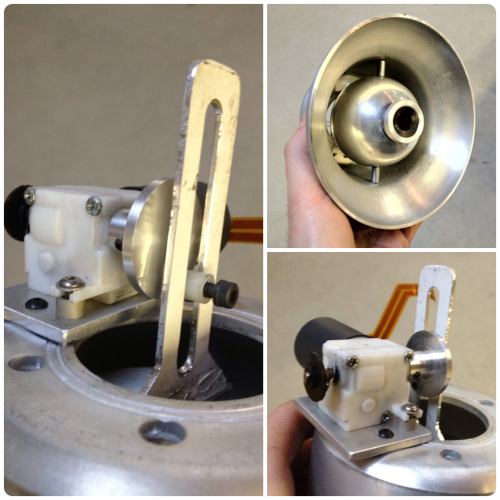
I’ve been working on a simple little machine to cause an eyeball to track back and forth. So far so good. LED light effects coming up next.
Shown here is a little machine that produces a dizzying visual effect as part of a larger kaleidoscope project I’m working on. The sheets of striped plastic were salvaged from an older rear projection style television.
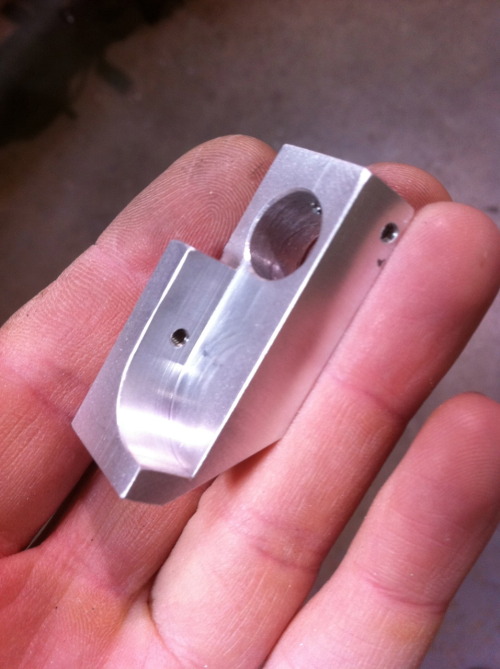
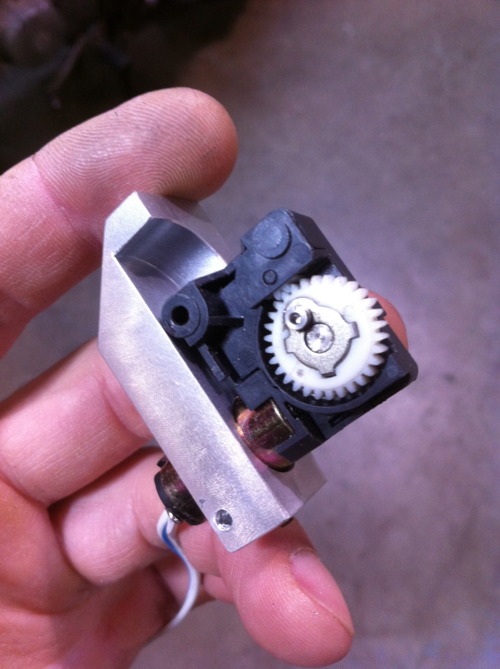
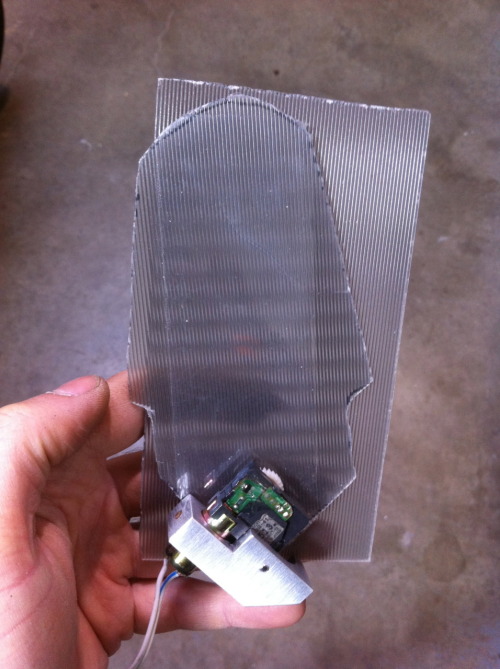
Shown here is a little machine that produces a dizzying visual effect as part of a larger kaleidoscope project I’m working on. The sheets of striped plastic were salvaged from an older rear projection style television.
Video to follow in the next post.
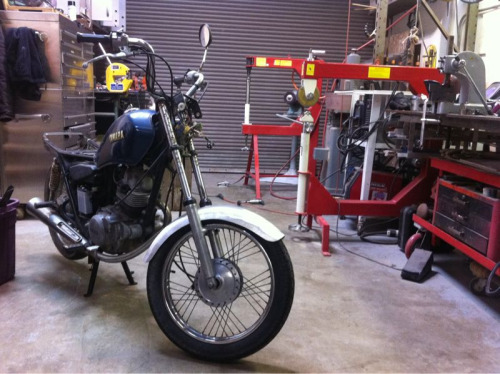
My latest “found object” – 1981 Yamaha SR185 motorcycle. I’ve wanted to learn how to shape sheet metal from scratch for years now. I’ll be using this little bike as my excuse to finally get on it. Note my early attempt at a front fender. Gas tank etc. coming up next.
Fine tuning ‘ol sour puss today. I hope to have it finished soon ( hope to have a better title too).
Here is another video of the piece I’ve been working on. I’ve added an eyeball to the mix. Enjoy.